/* jquery */ /* jquery accordion style*/ /* jquery init */

micro:bit MicroPython Animate Class

MicroPython for the micro:bit has a useful collection of images. And you can create your own custom LED images too. This time we'll write code to create an animation based on a collection of these images.

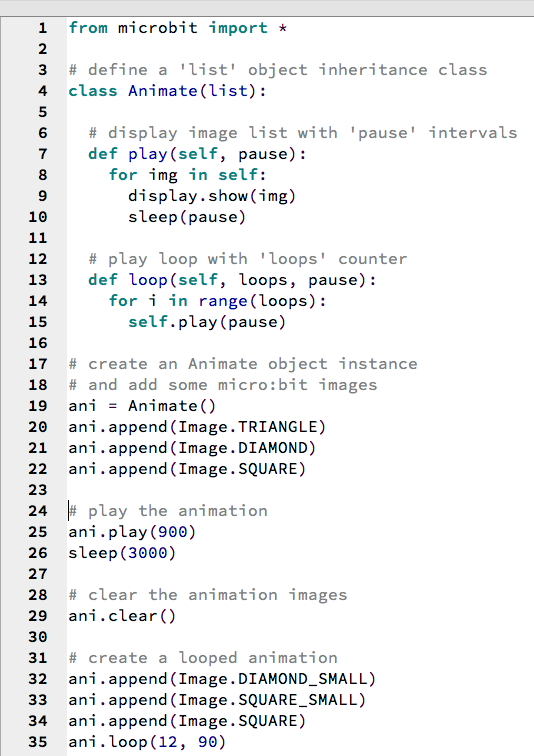
Python's list data type is ideal for our image collection. So, we'll define a class that inherits from the list data type. In this way we automatically have all the functionality of a list object and only need to add our own custom class methods.

In this case we're going to add two methods, the first to play (line 7) the image animation and the second to loop (line 13) through a series of animation plays.

Here's the code:

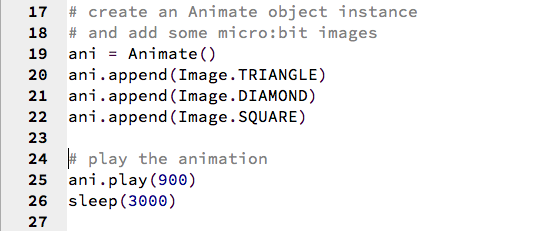
Now we've defined our class we can create an instance of the Animate class (line 19), then add a number of images using the append method inherited from the list data type. All we need to do now is call the play method (line 25) to display the animation, specifying the pause interval in microseconds.

Next we remove the image collection (line 29), using the clear method inherited from the list data type, then add more images. Finally, we call the loop method (line 35), specifying the number of loops and the pause interval in microseconds.

Here's the compete code listing:

Return to the micro:bit MicroPython Coding Tutorials page.

micro:bit MicroPython Animation Code

MicroPython for the micro:bit has a useful collection of images. And you can create your own custom LED images too. So let's write some code to animate a collection of these images.

We'll use Python's built-in list data type to hold our image collection. After adding the images with the append method we can create a for loop to iterate through the list.

Here's the code:

from microbit import *

# create an empty list
images = []

# add images to list
images.append(Image.TRIANGLE)
images.append(Image.DIAMOND)
images.append(Image.SQUARE)

# display each image in the list
for img in images:
   display.show(img)
   sleep(1000)

Note there is a one second pause between the display of each image so we can clearly see each one.

If you'd like to add code that builds a new image collection first use the clear method to remove the old images, like this:

images.clear()

Next time we'll see how to create an Animation Class that incorporates both one-time play and looping functionality.

Return to the micro:bit MicroPython Coding Tutorials page.

Thonny for RPi and micro:bit

In a previous blog post I talked out the benefits of the Thonny Python IDE.

Now the latest Raspbian Stretch operating system for the Raspberry Pi family has an updated Thonny release.

In addition, if you click the Menu > Programming > Thonny (Simple Mode) option you'll find all the essential window panes for writing Python code, with the most common features just a click away via generously-sized icons.

And for micro:bit MicroPython coding fans there's a micro:bit Thonny plugin to download and try out.

Try My Free Raspberry Pi Python Coding Tutorials